Adding Events
Background
Events in GroupCal are always added to a specific calendar. Once added, they are immediately synced with all members of that calendar. Those members receive a push notification informing them about the change, whether it’s a new event or an updated one.
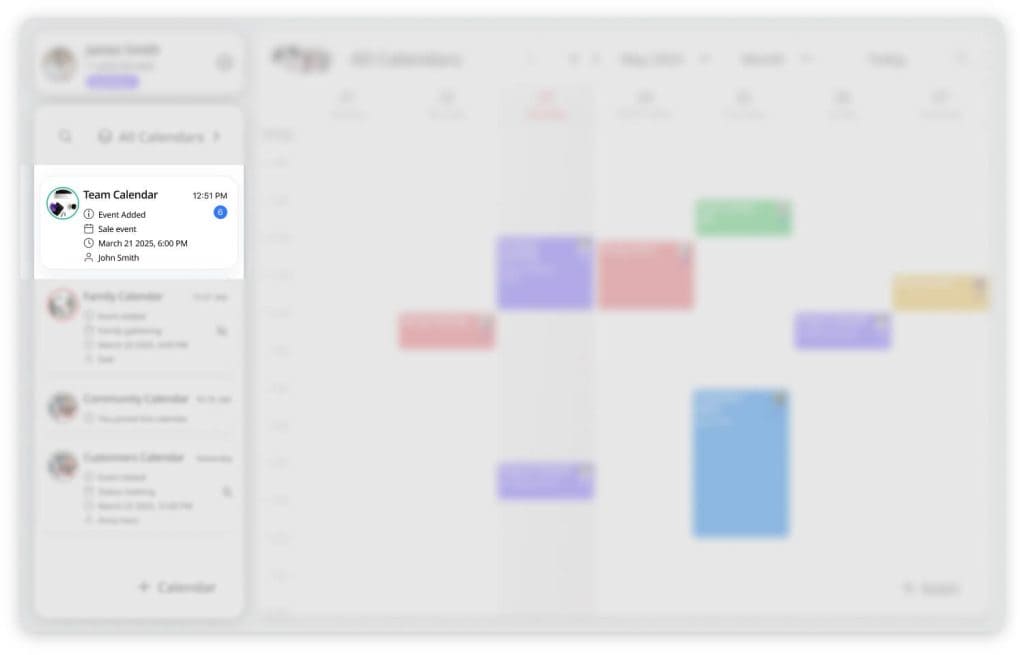
When members open the app, GroupCal indicates which changes have occurred. This indication is shown on the Calendars List section, allowing the members to easily see which event has been updated.

Adding Events: ‘All Calendars’ Screen vs. Specific Calendar Screen
When adding events from a specific calendar screen, they are added to that particular calendar. To do so, first, click on any of the calendars in the Calendar List section, and then proceed to add the event (see below for instructions).
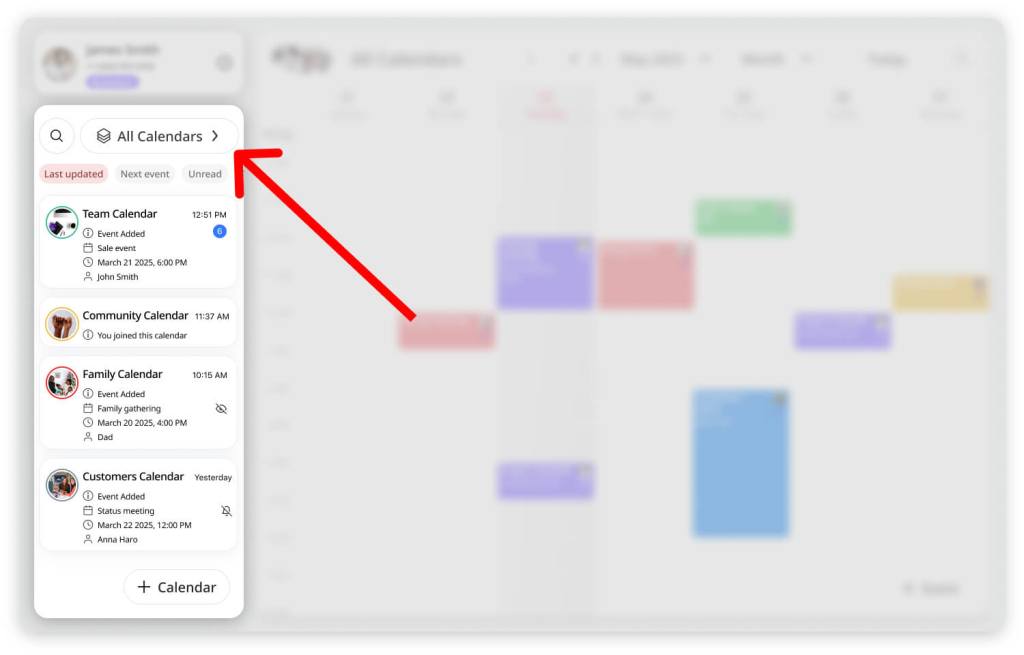
Alternatively, you can add events from the ‘All Calendars’ screen, which displays all events from all calendars together, giving you a complete schedule overview. To access the ‘All Calendars’ screen, click on the ‘All Calendars’ button in the Calendar List section.

Events added from the ‘All Calendars’ screen will be added to the default calendar. The default calendar is indicated on the Add Event popup. While adding an event, you can change the calendar to which it will be added (see instructions below).
Few ways to start adding an event
To start adding an event, follow these steps:
- Choose whether you’d like to add it from the ‘All Calendars’ screen or directly from a specific calendar. You can do this by either clicking on the ‘All Calendars’ button or selecting any calendar from the list.
- There are a few options for how to start adding the event:
- Click on the ‘+Event’ button – this will automatically set the next rounded hour as the default time for the new event. The default duration of a new event is one hour. For example, if it is currently 11:10 AM, clicking on the ‘+Event’ button will schedule the new event for 12 PM.
- Click on the desired time slot to add the event. This will create a new event with a duration of one hour at that specific time. You can also click on the ‘All-Day’ section to add an all-day event. In the Month view of the calendar, clicking on a day will add the event to that day, defaulting to noon as the time.
- Click and drag to create a new event with a duration of your choice.
After performing the above steps, you can modify the start and end date, time, and other properties of the event (see instructions below).
Event info popup

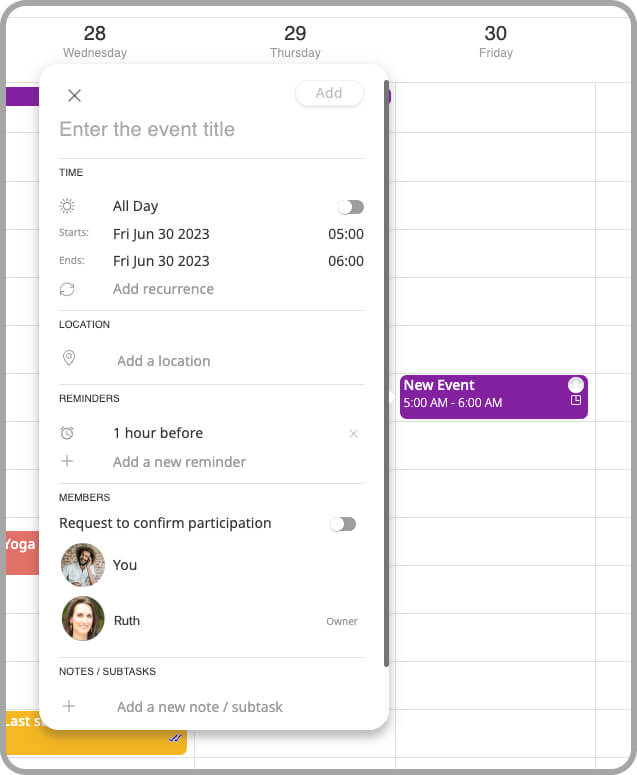
After initiating the process of adding a new event, as described above, a new event placeholder will be added to the calendar section, and the event details popup will be displayed, pointing to it. This popup is the same one used throughout the app when clicking on any existing event. It allows you to configure the properties of the new event, such as its title, time, address, etc.
Once you’re ready, click on the Add button to add the new event.
Once the new event is added, the members of the shared calendar to which it has been added will receive a notification. The event will be automatically listed on their devices.